On March 3, 2014 at 14:16, sofa_king_CI said...
I'm pretty sure a 6' ladder will fit inside if you don't have a bulk head or don't get one that allows you to lean back. Or if you can hang it on the ceiling and get a bulk head (or customized the bulk head) so that the area above your head is still storage for the back.
3PM - this looks really good. How are you attaching the cabinets to the van? That a good amount of storage. Are you only shelving the one side?
I can't decide between shelving one side, or just shelving at both slider doors for all my systainers, leaving the back and some space between the sliding door cabinets for storage.
Make sure your bulk head is solid. There are some pretty scary crash test videos of wood shelving completely smashing the drivers cab.
Cory,
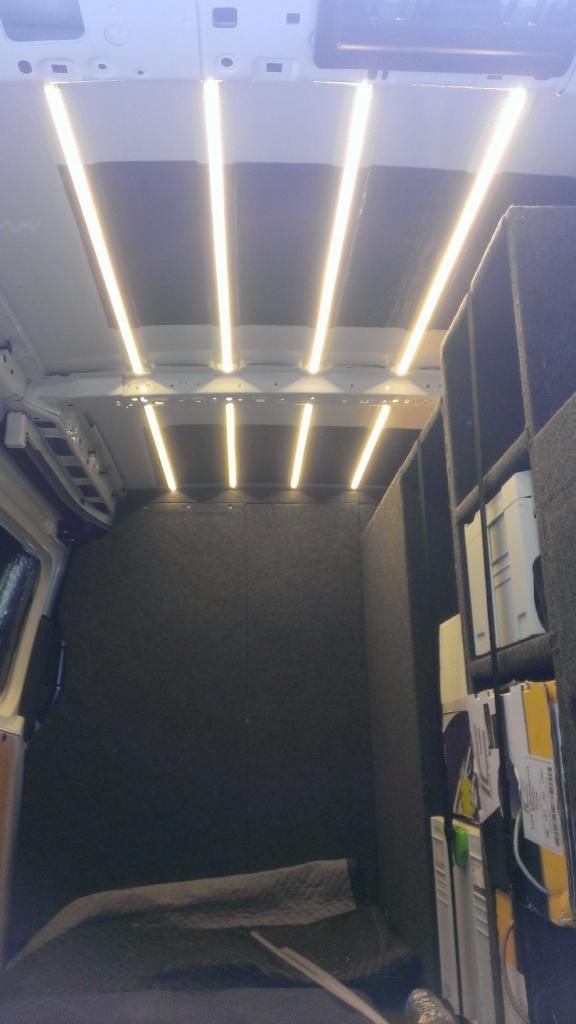
each cabinet will be screwed down to the piece of 3/4" MDO that i fastened down using grade 8 bolts where the tie downs used to be. The tops will be bolted into the top skirt/bulkhead using grade 8 bolts and hardware. Im not concerned with them going anywhere. the boxes are screwed together and the boxes are glued together with polyurethane glue.
The first two cabinets that i built will get shelves. the other two I built yesterday are fixed for the wire and sys-midi.
believe it or not i actually have quite a few "open shelf's" that im not quite sure what todo with. I mean it requires more systainers to be purchased but i need to figure out what to put in them lol ;-)
The cabinet behind the passenger will actually be part of the bulkhead. there will be a fixed 3/4'plywood section behind the driver seat and im going to be making a section that slides open inbetween the seats so i can haul 8-10ft. lumber and 65" TV's. think of a pocket door! The way this will get fastened to the top and bottom im not concerned with that going anywhere the event of a wreck.
I went back and forth with shelving on each side of the doors, the problem with that is you lose ALOT of cargo space because the systainers have to slide in long ways. Ive lost 10" of cargo room because of the seats reclining back. My entire goal was to have them wide ways in the doors but i could only get a single stack in and it just didnt make sense.
I just finished carpeting the two cabinets I built yesterday! Getting close! ;)
On March 3, 2014 at 16:24, mwstorch said...
Really nice looking carpentry and organization. Thanks for sharing and giving me some ideas.
Thanks man, appreciate it!


 [/IMG][/URL]
 [/IMG][/URL]
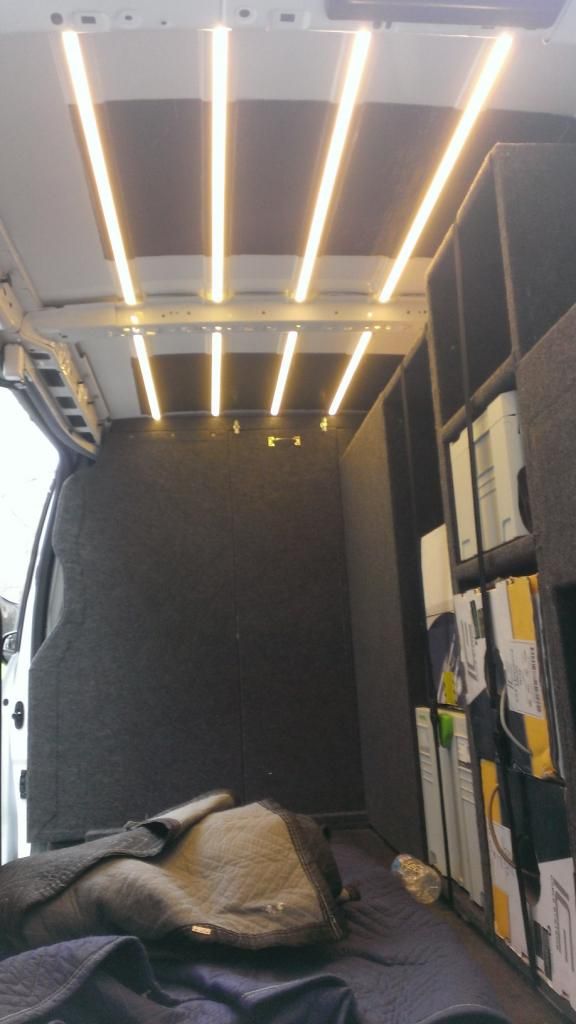 [/IMG][/URL]
 [/IMG][/URL]
 [/IMG][/URL]
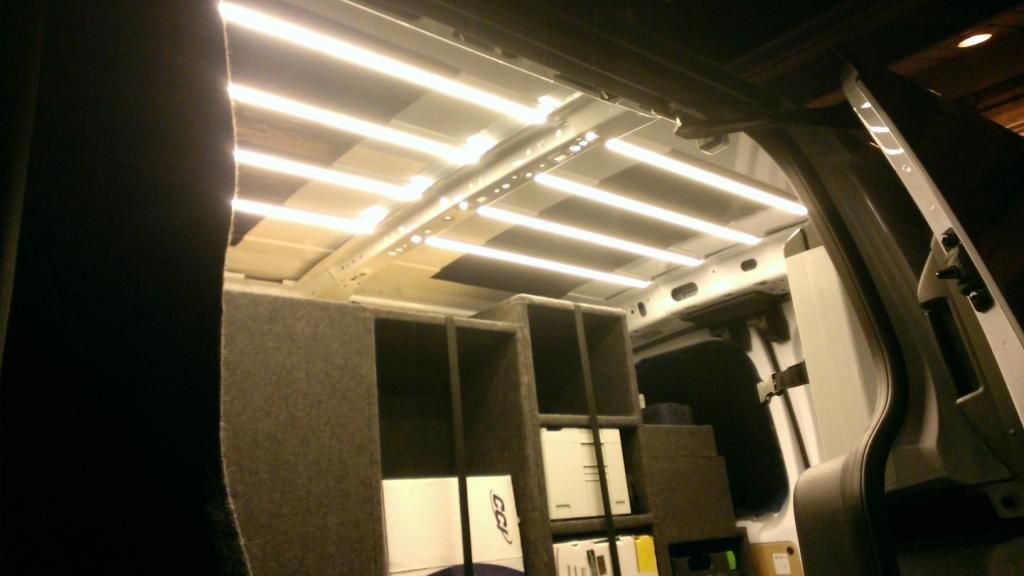 [/IMG][/URL]
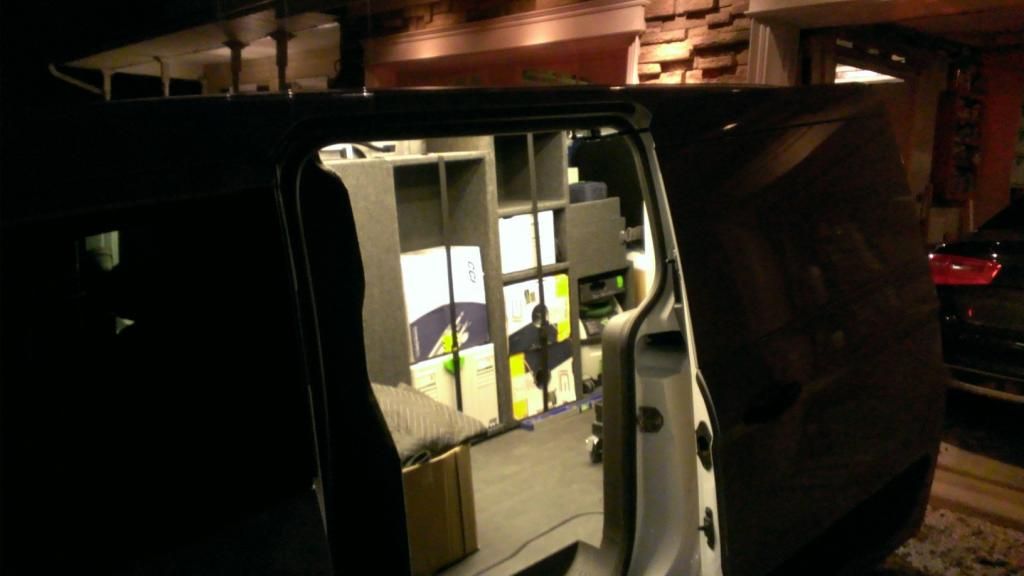 [/IMG][/URL]
 [/IMG][/URL]
