Okay, since you passed the test here is the tip I wish
someone had told me before I built my first racks and
had to learn it on my own.
Get two MA vertical power strips and mount one on each
side inside the rack. Mount one 'upside down' compared
to the other. Now put your big honking UPS at the bottom
and a power conditioner of your choosing at the top.
Plug each of the vertical strips into the PC/UPS its
closest to. Now you have either a UPS or conditioned
outlet about 12 inches from every piece of equipment.
Search online for 12, 24 and 36 inch IEC power cords
and buy a box of each. Now use these IEC cords to power
each piece of equipment.
No power cords to manage.
Good luck.
Oh, and re-read the MA white paper on ventilation and
follow it to a T. I often add an UQFP at the bottom with
the 4 fans reversed blowing in which are combined with
the fans at the top to get a lot of air moving up and
out through the rack.
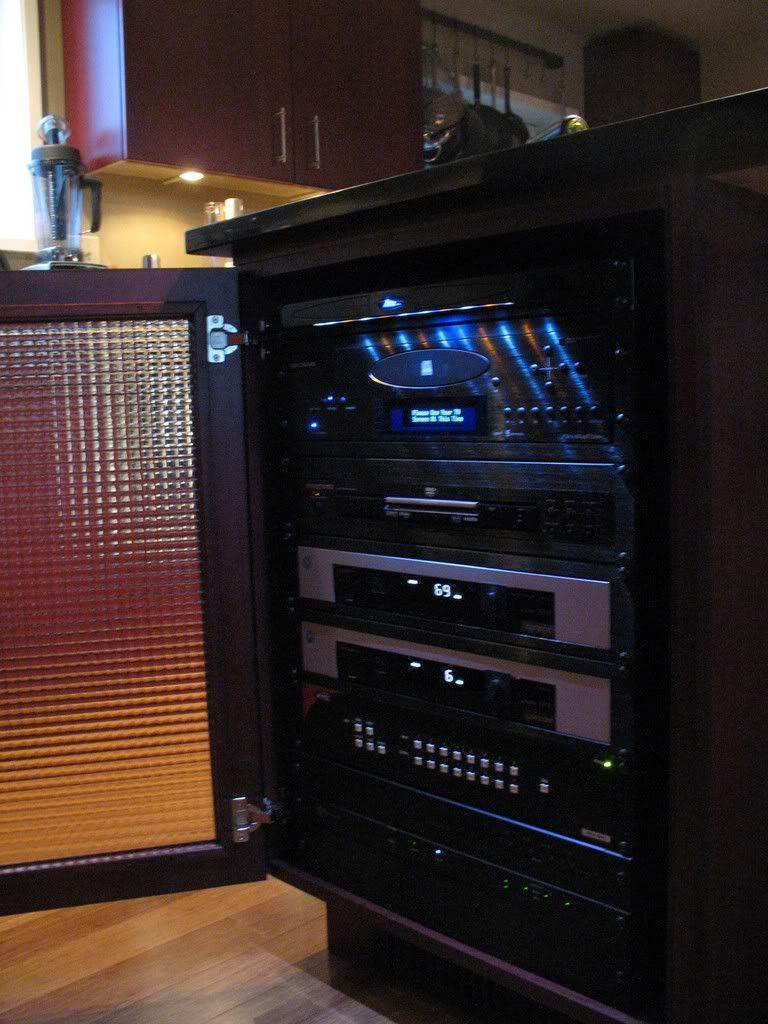
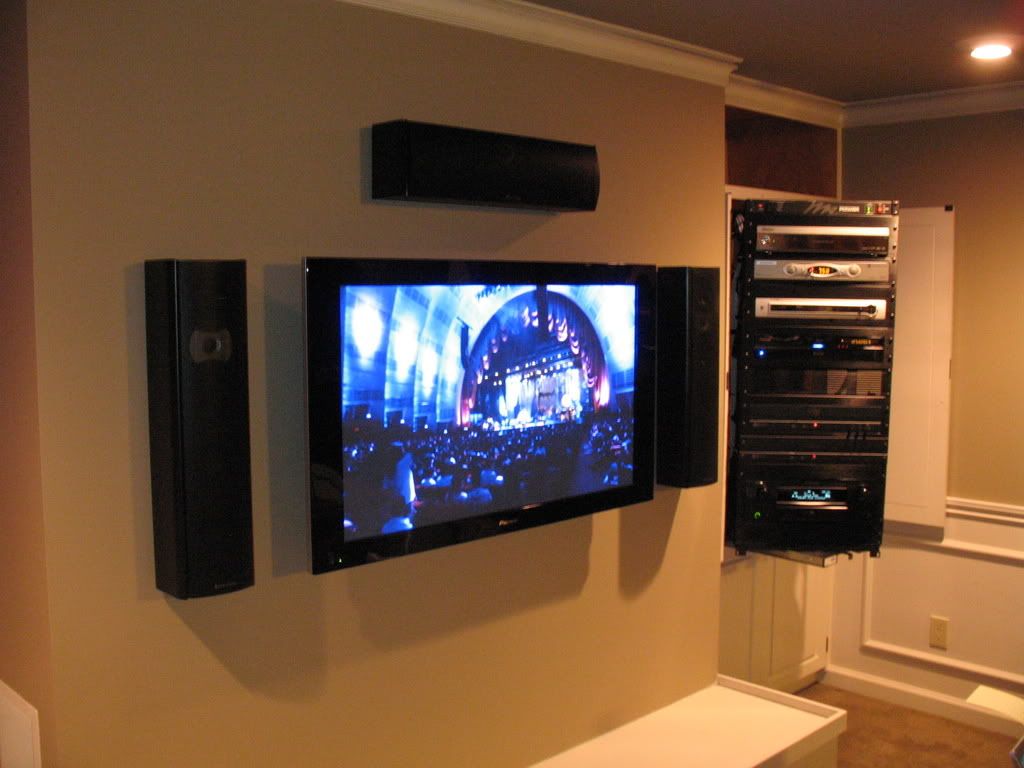
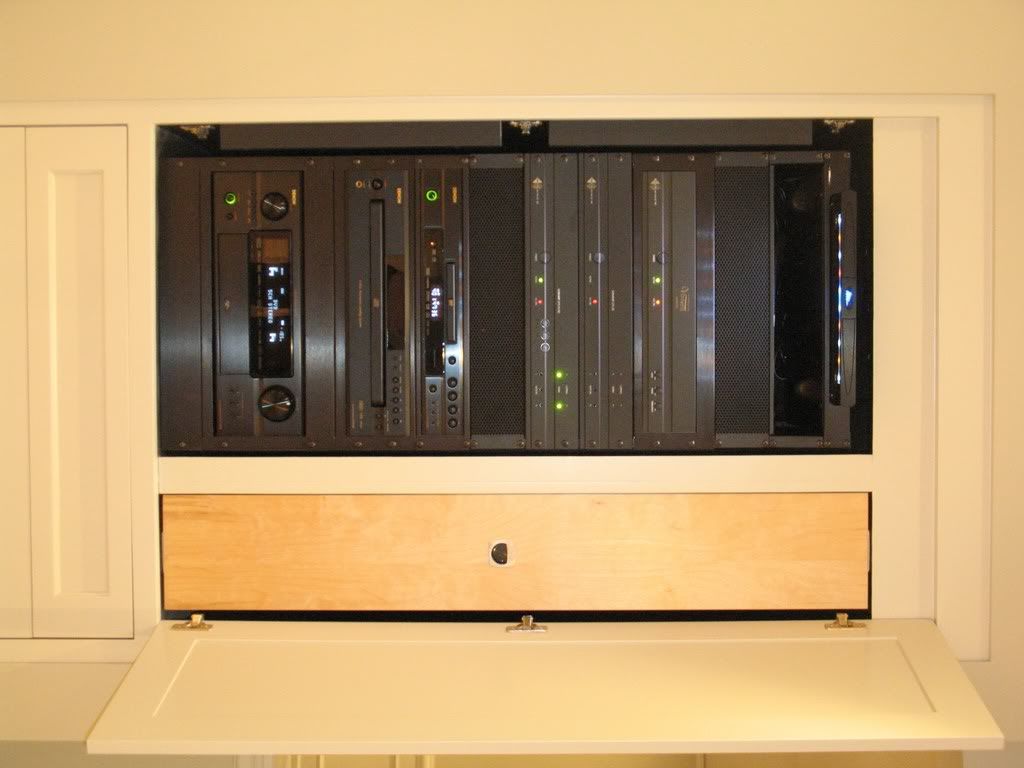
EDIT: here are some pics of a job we just about completed.
You should be able to see the vertical power strips inside
the racks and the fan panels at the bottom of each one.
[Link: gallery.mac.com]