Your Universal Remote Control Center
RemoteCentral.com
Custom Installers' Lounge Forum - View Post
Previous section Next section Previous page Next page Up level
Up level
The following page was printed from RemoteCentral.com:

Login:
Pass:


Page 2 of 2
Topic:
custom rack height for cabinet
This thread has 22 replies. Displaying posts 16 through 23.
Post 16 made on Monday June 27, 2011 at 21:25
SB Smarthomes
Super Member
Joined:
Posts:
July 2007
2,634
Today I took two 45U aluminum frame racks, cut them down to 32U, modified the rails so I could flip the feet inward, hacked up some of the leftover rail to fit between the two racks to make a single very shallow (16.5" deep) 4-post rack and then drilled and tapped some holes in the bottom and installed fine floor casters.

Thought of this thread and took some pictures if anyone is interested...
www.sbsmarthomes.com
Santa Barbara Smarthomes
OP | Post 17 made on Monday June 27, 2011 at 22:09
SignatureSV
Loyal Member
Joined:
Posts:
July 2009
7,860
awesome ideas, i really like Bassales solution. im glad to hear this isnt as uncommon as i had assumed it was.

Paul, Please post the pics, im curious. As for the doors it would require a modification to the cabinet so thats a no go. The way the cabinet is positioned is going to be a real bugger so i think im going bassales cabinet solution.

I do have a chop saw, dont know why i didnt think of it...this industry has turned my brain to mush ;)
The Bitterness of Poor Quality is Remembered Long after the Sweetness of Price is Forgotten! - Benjamin Franklin
Post 18 made on Monday June 27, 2011 at 22:45
fixitnick
Active Member
Joined:
Posts:
November 2010
710
On June 27, 2011 at 13:30, Ernie Bornn-Gilman said...
The chopsaw also ensures that your hand won't shake..

So will a few adult beverages. LOL. :)
I keep pointing my remote at the turntable but, it never advances to the next track.
Post 19 made on Tuesday June 28, 2011 at 00:24
SB Smarthomes
Super Member
Joined:
Posts:
July 2007
2,634
On June 27, 2011 at 22:09, SignatureSV said...
Paul, Please post the pics, im curious.

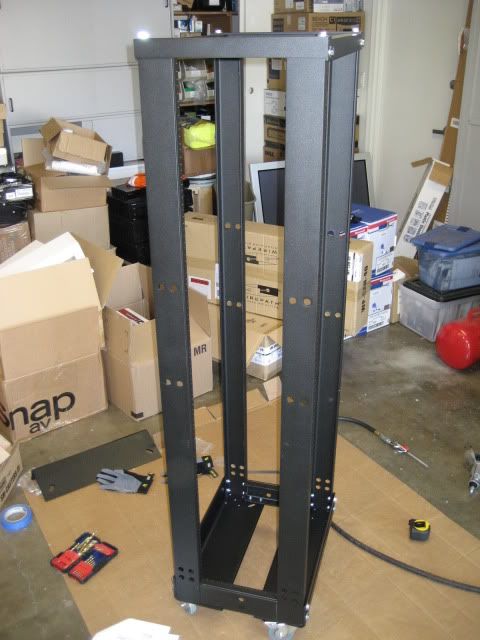
Here's a quick run down on today's rack modification:

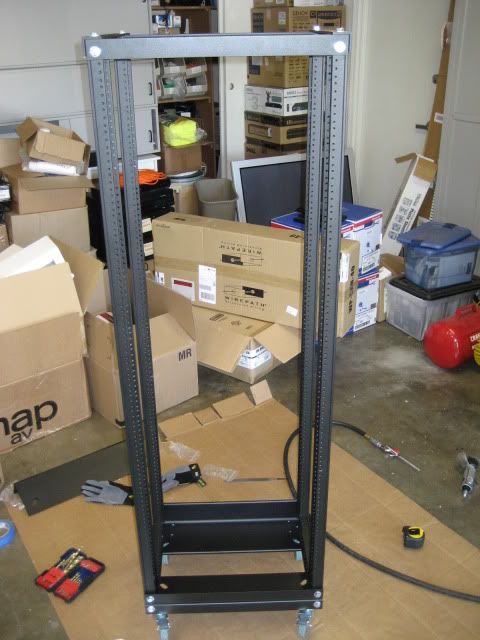
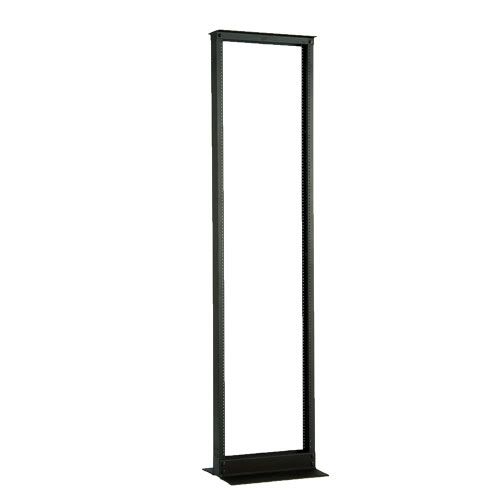
Started with two standard 45U aluminum 2-post relay racks that look like this:


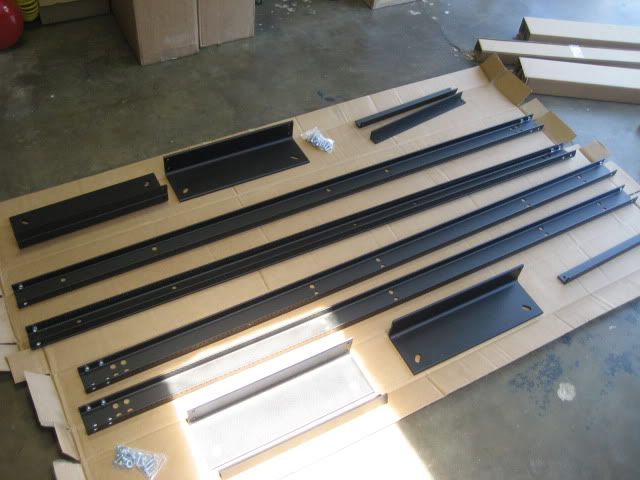
Here they are both laid out an unboxed:


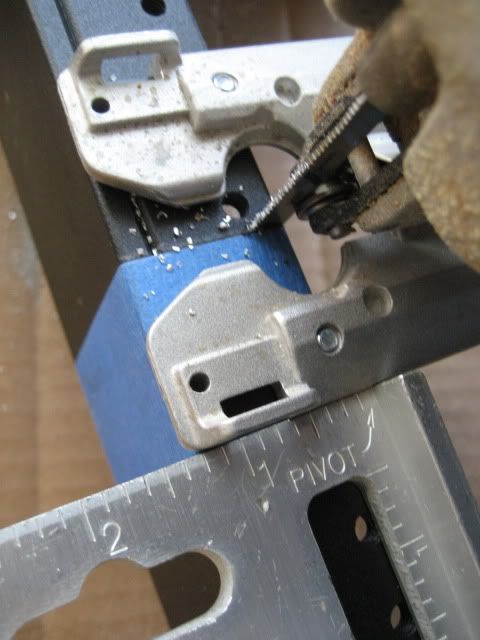
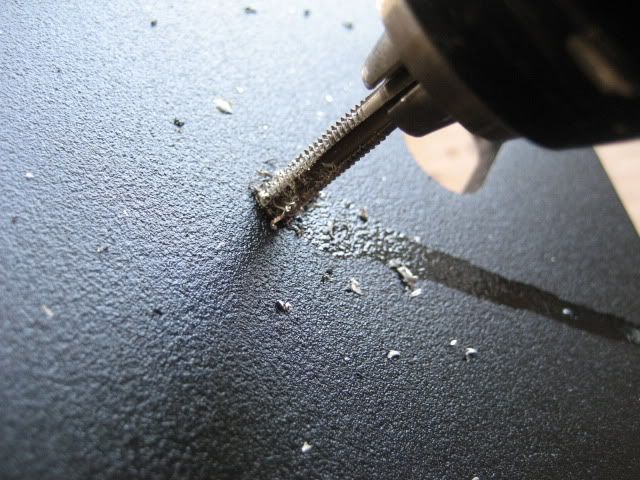
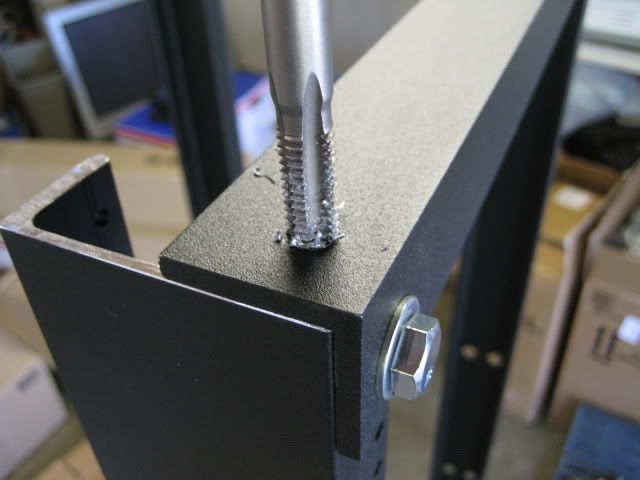
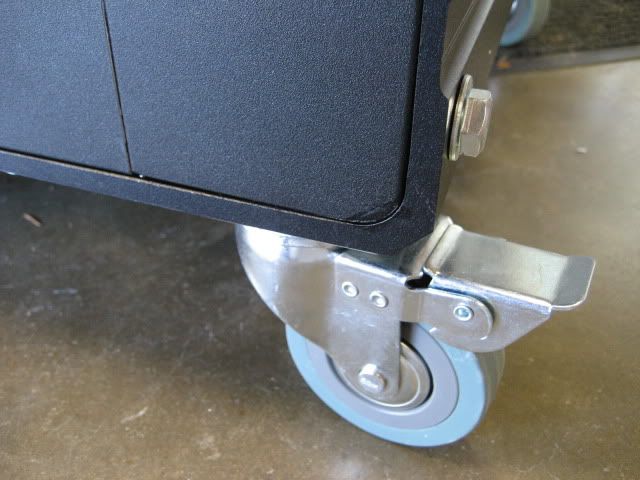
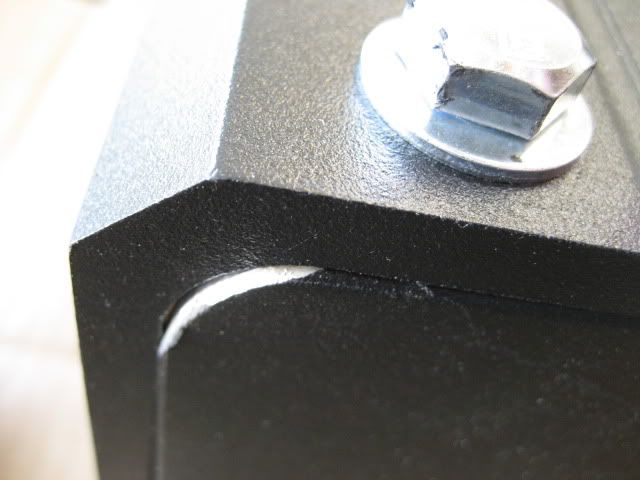
First I wanted to flip the feet inward to decrease the depth of the rack.  To do this, I had to cut a radius in the bottom of all four rails so the feet would fit.  Used a die grinder to make quick work of this:


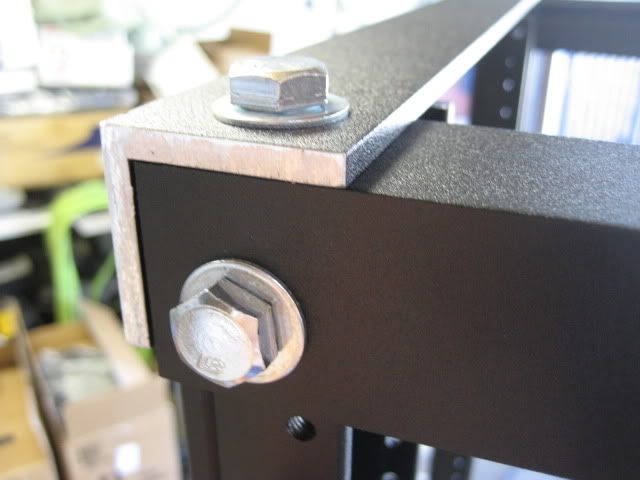
A little clean-up with the file and it's a good fit.  You can see here how the rack rail had to be trimmed to allow clearance with the foot flipped around to match the radius on the inside of the foot:


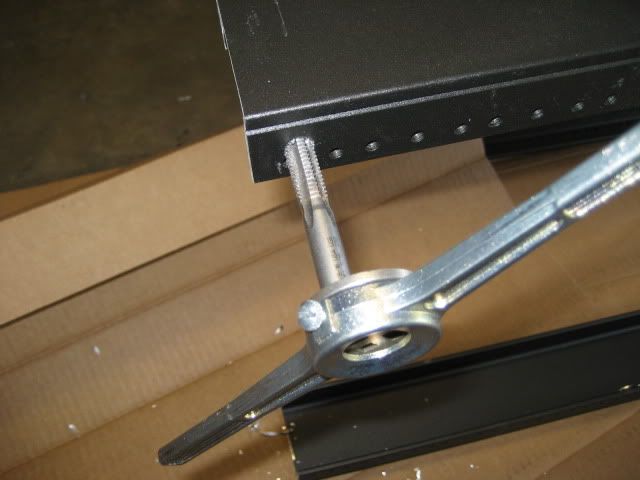
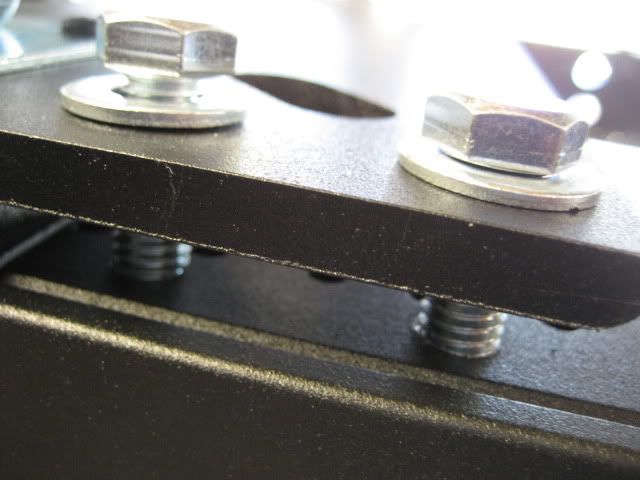
Now it's on to cutting the rails which is what everyone has been swapping ideas about.  I cut them individually using my jig saw and a speed square.  Easy enough to get them within 1/16".  All four cut in less than 5 minutes.  I think it takes longer to measure and tape them off than it does to actually cut them.
www.sbsmarthomes.com
Santa Barbara Smarthomes
Post 20 made on Tuesday June 28, 2011 at 00:33
SB Smarthomes
Super Member
Joined:
Posts:
July 2007
2,634
I mounted casters into the corners of the feet that were flipped inward.  This is nice thick aluminum so instead of messing around with nuts and washers, I just drilled and tapped the holes to accept bolts:


Here's one of the threaded holes:


Next I used some of the extra rack rail and cut id down to attach the two racks together.  Tapped and threaded the holes again for the larger bolts:


This shows the two bolts coming up through the bottom of the foot and threading into the short rack rail that was used to join the two racks together:


The top was connected in a similar fashion using the left over top brace bars.  These were tapped and threaded too:


Here's with the top bar bolted in place:


Rack from the front:


Rack from the side (only 16.5" deep):


Detail of the caster and modified rack rail after a bit of touch-up paint:


All together it only took 2.5hrs starting with unboxing and ending after cleanup.  Total of 12 cuts, a little grinding and 28 drill/tap for bolts.
www.sbsmarthomes.com
Santa Barbara Smarthomes
Post 21 made on Tuesday June 28, 2011 at 00:36
fixitnick
Active Member
Joined:
Posts:
November 2010
710
Great instructional SB Smarthomes.

Thanks for taking the time to post the pics. I will tuck that away in my brain for the future.
I keep pointing my remote at the turntable but, it never advances to the next track.
Post 22 made on Tuesday June 28, 2011 at 09:34
Neurorad
Super Member
Joined:
Posts:
September 2007
3,011
Paul, you should definitely post that at CT as a how-to. Thanks so much!
TB A+ Partner
Believe nothing, no matter where you read it, or who said it, no matter if I have said it, unless it agrees with your own reason and your own common sense. -Buddha
Post 23 made on Tuesday June 28, 2011 at 09:38
39 Cent Stamp
Elite Member
Joined:
Posts:
May 2007
17,519
Nice howto. I wish everyone (including me) would document things like this.
Avid Stamp Collector - I really love 39 Cent Stamps
Page 2 of 2


Jump to


Protected Feature Before you can reply to a message...
You must first register for a Remote Central user account - it's fast and free! Or, if you already have an account, please login now.

Please read the following: Unsolicited commercial advertisements are absolutely not permitted on this forum. Other private buy & sell messages should be posted to our Marketplace. For information on how to advertise your service or product click here. Remote Central reserves the right to remove or modify any post that is deemed inappropriate.

Hosting Services by ipHouse