Hi All
I was reading one of the threads on repairing non-responsive buttons on the Harmony 659 remote and decided that I would attempt repair and document my process and include some pictures. So here goes nothing…
The Harmony H659 Remote
[IMG]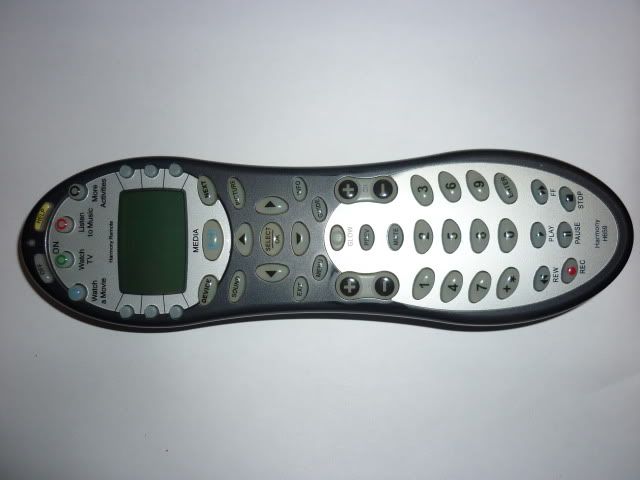 [/IMG]
There are 4 small screws that must be removed before opening the remote up.
[IMG]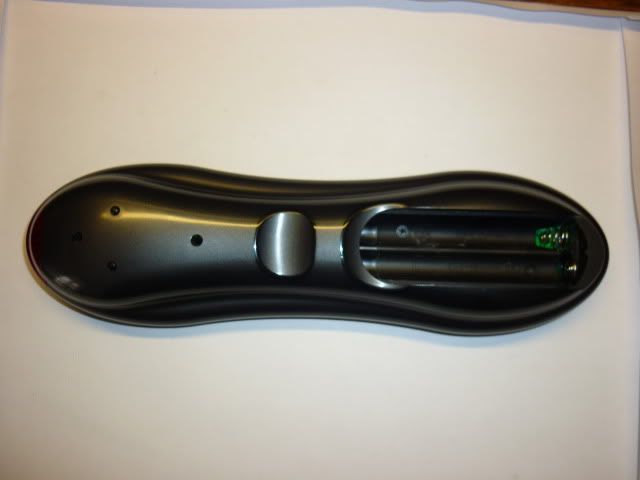 [/IMG]
After removing the screws, place a flat screw driver and pry open gently.
[IMG]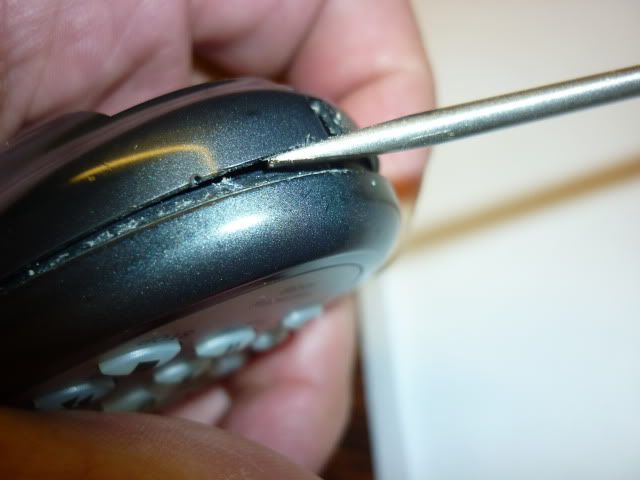 [/IMG]
You goal is to unclip 6 clips that are located on the sides of the remote. I moved the screw driver slowly along the ridge until the each clip released.
[IMG] [/IMG]Once all clips are released, remove the bottom half.
 [IMG]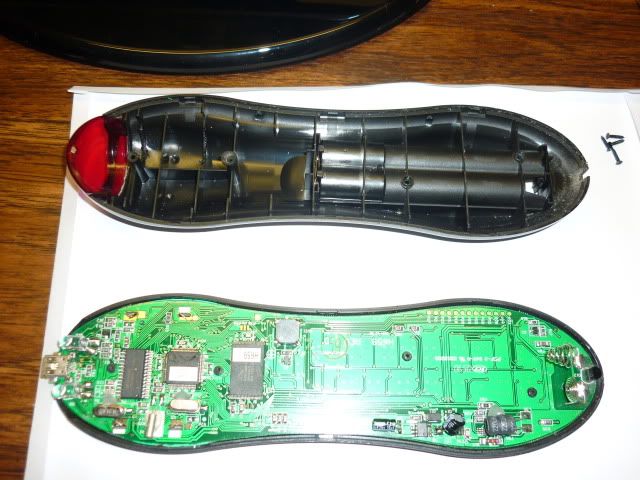 [/IMG]
Before removing the circuit board, there are 2 more screws at the bottom end of the remote that must be removed.
[IMG]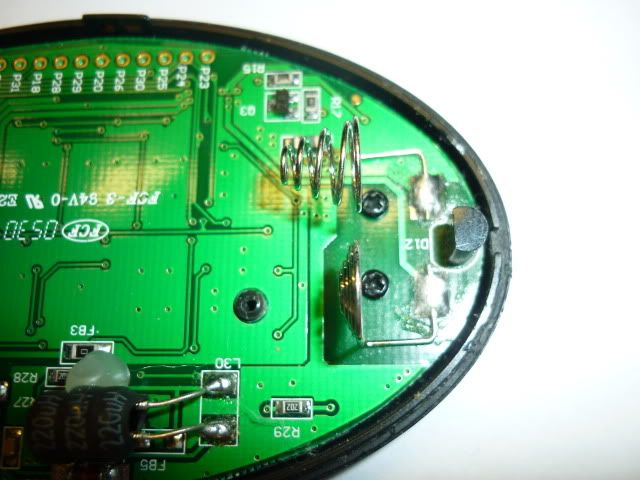 [/IMG]
Once the 2 circuit board screws are removed, you can remove the circuit board to reveal the button membrane. All the black dots are the button contacts that will need to be cleaned.
[IMG]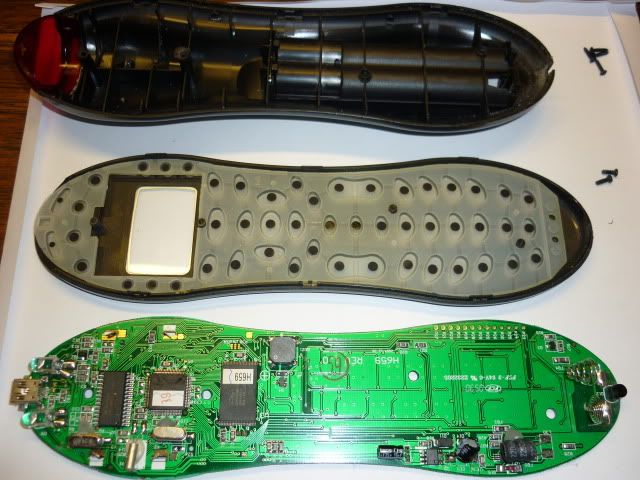 [/IMG]
Take a cotton swab and a small amount of rubbing alcohol and clean all the black contacts. [IMG]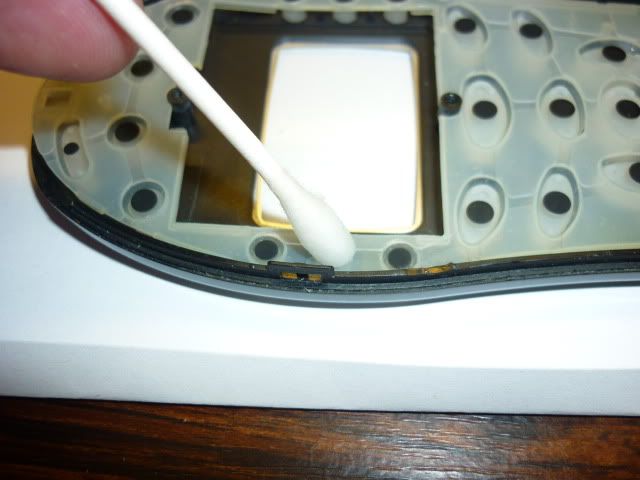 [/IMG]
Also clean the circuit board contacts but be careful not to tangle the threads of the cotton swab onto the circuit board contacts.
[IMG]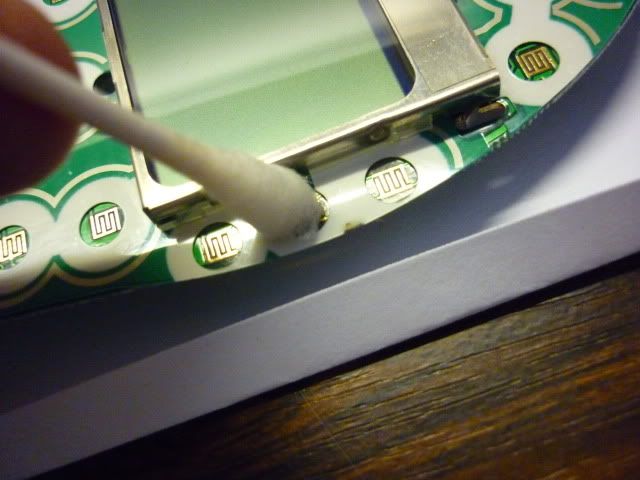 [/IMG]
You can now reassemble the remote and see if the buttons work properly. All mine worked after this tune-up.
[IMG]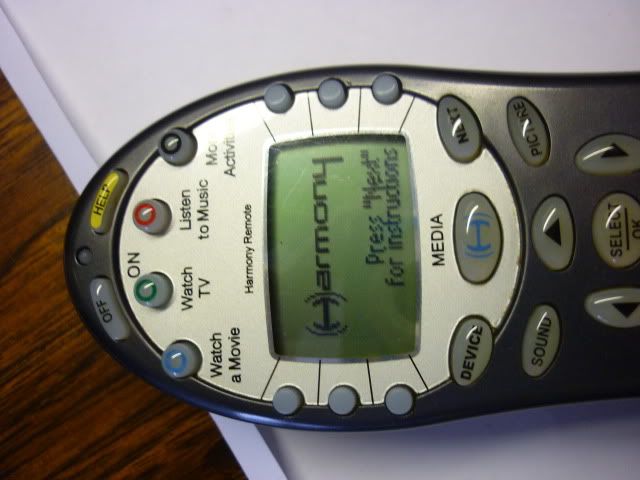 [/IMG]
However 1 button had to be pressed very firmly to respond. I re-opened the remote again and added a tiny piece of metallic heating duct tape to the offending membrane contact.
[IMG]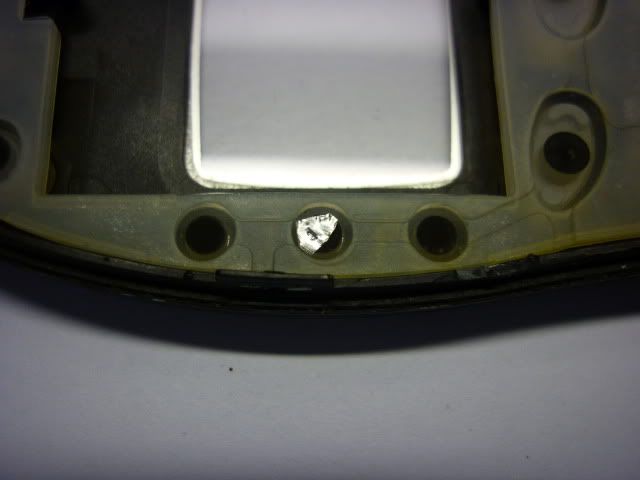 [/IMG]
Re-closed once again and it works like new.
That’s it…I hope this little tutorial helps.
Happy Clicking.
RATZ


