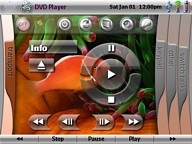
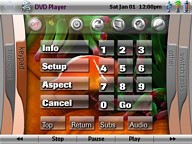
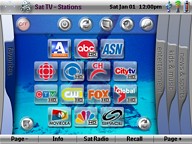
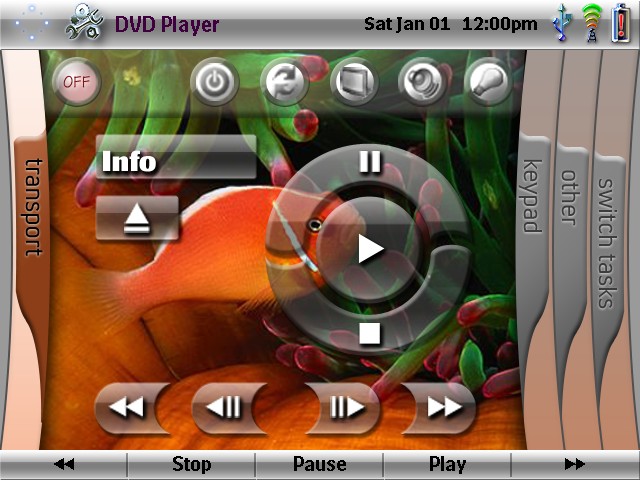
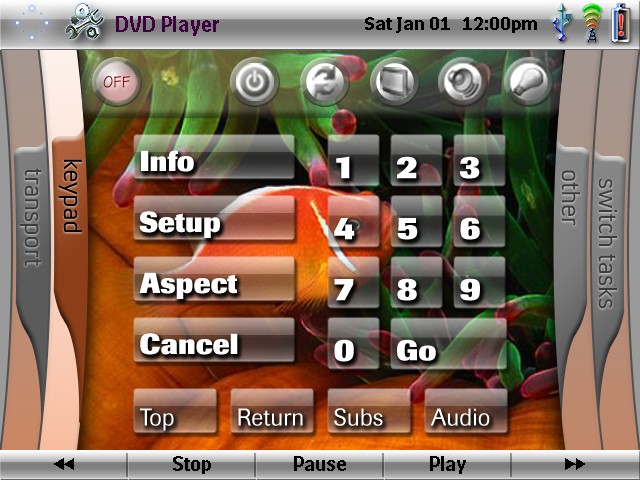
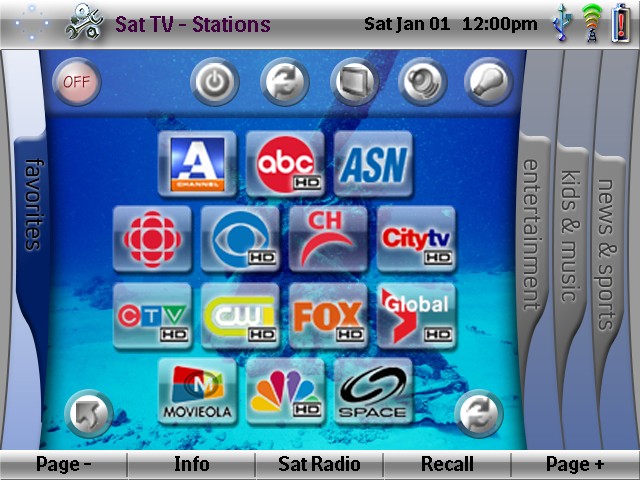
| SECOND PLACE WINNER! The following file is based on my SCUBA-themed configuration that I use for my Marantz RC9500. However, all of the graphics have been completely redone to accommodate the Pronto TSU9600 graphics capabilities (when importing the PCF file into the Pronto Professional program all the graphics became very tiny). Because the remote uses a widescreen display, I decided to base the page navigation within each device on the XBOX 360 dashboard. You navigate the tabs (or also known as ‘blades’ for those familiar with the XBOX 360) by using the page up and down buttons located to the left of the screen. The ‘blades’ themselves are currently not active (i.e., cannot be directly accessed by pressing on them), but will become so at a later date when I have more time to complete the file. I am an avid SCUBA diver and so the background pictures are themed after this. However, with not too much difficulty, the pictures can be changed to whatever you wish. The Home page will allow you to: 1) power the entire system down, 2) access power for all devices in the system, 2) access to lighting control and drapes, 4) the remote setup page – for IR codes and macros, 5) direct access to each device – without sending any IR codes and finally 6) the help page. When executing macros (turning the system on, switching between devices or power the system down), a screen will appear giving you a visual cue as to the progress of the task being completed. The IR codes and macros are located in a hidden area of the remote that can only be accessed by entering an access code. It is set as “1, 2, 3, 4, Enter” and can easily be changed to whatever you wish. You can access this area by pressing the “setup” icon and then choosing the “IR Codes & Macros” button. I have also included an Address Book – for important phone numbers, a Clean the Remote section – that will allow you to clean the surface of the touch screen without sending off any IR commands and finally a Help screen – which explains the functions for each of the icons at the top of the device sections. I have even set up sections for Lighting control, Drapes and Zone 2 control. I have included sections for a CD Player, DVD Player, Satellite PVR, and XBOX 360. Each device section of the remote has a series of buttons at the top of the screen that will: 1) turn the entire system off, 2) access power for all devices in the system, 3) switch to another device, 4) access the display options (if appropriate), 5) access the audio options, and finally 6) lighting. The satellite television section has graphical one-touch buttons to their favorite channels. There are also sections to directly access the satellite radio stations via one-touch buttons as well. |